As an Amazon Associate, we earn from qualifying purchases. Some links on this site are affiliate links at no extra cost to you. Our recommendations are based on thorough research and editorial judgment.


How To Paint RC Motorcycles With Professional Results?

To paint RC motorcycles with professional results, Surface Preparation is key; we should sand with 600-800 grit sandpaper and clean thoroughly. For Paint Selection, use PS paints for flexibility on polycarbonate bodies and TS paints for hard plastic parts, ensuring compatibility. In Painting Technique, spray from 25-30 cm in thin layers, allowing proper drying time. When it comes to Masking and Detail Work, apply liquid masking carefully. With Finishing and Protection, use protective coatings and flexible clear coat. We can discover more about enhancing our results.
Key Takeaways
- Thoroughly prepare surfaces by sanding with 600-800 grit sandpaper and cleaning to enhance paint adhesion.
- Choose compatible and high-quality paints, such as PS paints for bodies and TS paints for hard plastic parts.
- Apply multiple thin layers of paint, maintaining a consistent distance of 25-30 cm to avoid drips and ensure smooth coverage.
- Use liquid masking for intricate designs, cutting patterns carefully to prevent damage and enhance aesthetic quality.
- Finish with a flexible clear coat for protection, allowing proper drying time and inspecting for wear or damage regularly.
Preparation and Surface Treatment
Next, we’ll utilize proper sanding techniques. Lightly scuff the polycarbonate body with fine-grit sandpaper (600-800 grit) to enhance adhesion. It’s essential to sand uniformly, avoiding grooves that could be visible after painting. Additionally, understanding the build quality and durability is crucial for achieving a long-lasting finish. Finally, after sanding, we must clean the surface again to remove any dust that could impair bonding, ensuring a smooth finish.
Paint Selection and Handling

Paint Selection for RC Motorcycles is vital to achieving a high-quality finish that withstands the demands of use. For polycarbonate bodies, we should use PS paints, which are flexible and resist cracking. TS paints are ideal for hard plastic parts like mirrors and spoilers. Tamiya offers an impressive variety with over 130 paint colors for easy selection based on paint compatibility. We must also consider paint quality; professional-grade options provide superior adhesion and durability. Proper handling and storage is critical; we should warm spray cans before use and store paints away from sunlight to prevent drying. By following these guidelines, we guarantee peak results, boosting our RC motorcycles’ visual appeal and resilience to wear. Additionally, selecting paints that can withstand the terrain variations faced by RC motorcycles will further ensure their longevity and aesthetic integrity.
Painting Technique
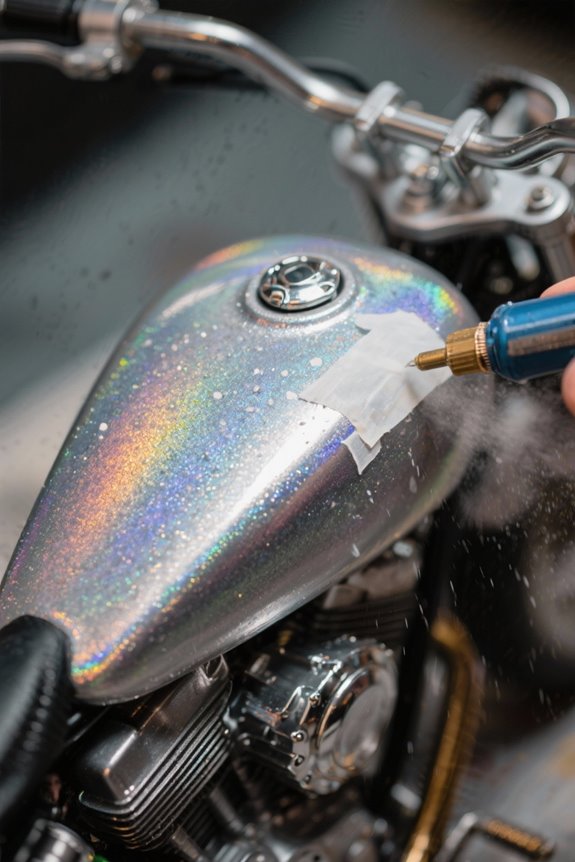
Surface Preparation is essential to guarantee an ideal painting process for our RC motorcycles. We should start by cleaning the body thoroughly with mild detergent or isopropyl alcohol, removing oils and dust. A light scuff with 400-600 grit sandpaper promotes better paint adhesion, but let’s avoid scuffing window areas. When we spray paint, maintaining consistent spray patterns from 25 to 30 cm away helps prevent runs. Applying 3 to 4 thin layers, starting with darker colors, assures smooth and even coverage. If we’re using airbrush techniques, we must control airflow and distance, applying paint in gradual layers for depth. Allowing proper drying times and ventilation is essential for a professional finish, so let’s make sure we get this right! Additionally, consider the build quality and durability of the model, as this can impact the final appearance and longevity of the paint job.
Masking and Detail Work

Having established an effective painting technique, we now turn our attention to Masking and Detail Work.
Liquid Masking: We apply liquid mask in thin, even coats, ideally 2–3, on the inner surface of the lexan body, allowing each to dry completely. This protects specific areas from paint and guarantees precision during cutting.
Precision Cutting: Once the liquid mask is dry, we use a sharp blade for cutting desired patterns. It’s key to handle the blade carefully, making sure it only cuts through the masking without damaging the surface beneath. Additionally, ensuring the right battery life enables longer periods of uninterrupted painting and detailing, enhancing the overall finish of your RC motorcycle.
Finishing and Protection
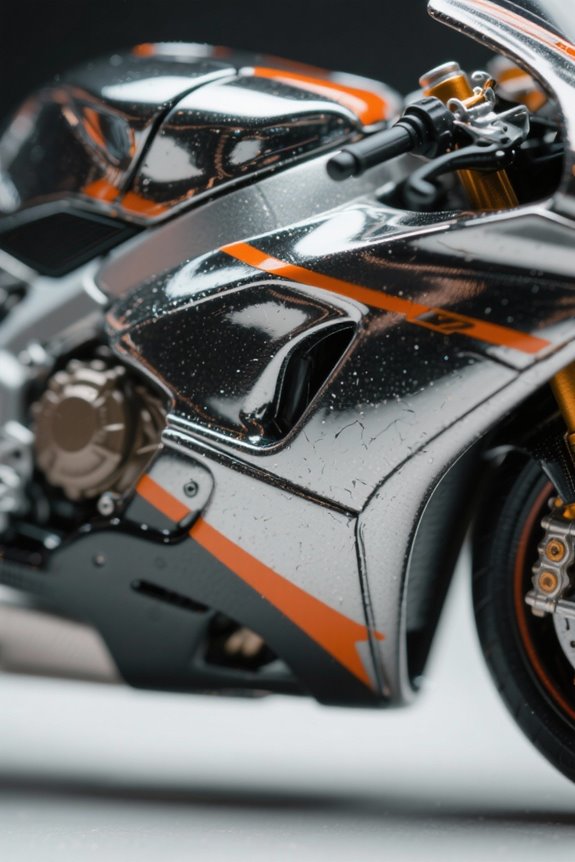
Application Techniques are key; we should spray protective coatings from a distance of 25 to 30 cm, applying thin layers and allowing 30 to 60 minutes for drying. Clean surfaces thoroughly with isopropyl alcohol, and consider light sanding between layers for better adhesion. By following these guidelines, we guarantee a smooth, protected finish that will stand the test of time. Additionally, using non-toxic materials in your painting process can enhance safety during application.
Equipment and Tools
Airbrush Types: We recommend dual-action airbrushes with fine needles ranging from 0.2mm to 0.5mm for detailed applications. This allows for improved paint efficiency and precision.
Compressor Options: Select compressors with adjustable pressure settings between 15-45 PSI. This guarantees ideal paint atomization while minimizing overspray and achieving smooth finishes.
Paint Selection: Use automotive-grade paints designed for polycarbonate surfaces, available in various colors including metallics and gloss.
Safety Equipment: Incorporate ventilation systems and protective gear, such as gloves and masks, to maintain a safe workspace. Additionally, consider using high-quality paint that enhances durability and aesthetic appeal for your RC motorcycle projects.
Together, these tools help us elevate our RC motorcycle painting projects to a professional standard.
Common Mistakes to Avoid
When tackling an RC motorcycle painting project, it’s vital to recognize common mistakes that can compromise our results. Improper Paint Application Techniques often lead to common paint defects like runs, sags, and uneven textures, which happen when we apply excessive paint without allowing proper drying time. Poor Surface Preparation is another issue; if we neglect cleaning or choose the wrong primer, we risk ruining our finish. Paint Consistency and Thinning Mistakes can also cause headaches; over-thinning paint diminishes hiding power and leads to transparency. Finally, letting our paint dry incorrectly creates unwanted textures. By avoiding these pitfalls, we can achieve a professional-quality finish and guarantee our models look their best. Additionally, using advanced driving technologies can help mimic the real-life details of RC motorcycles, enhancing the visual appeal of your paint job.
Tips for Custom Designs
Creating custom designs for RC motorcycles can transform a standard model into a personalized masterpiece. Surface Preparation is essential; cleaning the Lexan or polycarbonate body thoroughly removes oils and dust, ensuring better paint adhesion. After this, we should explore Color Schemes to find a vibrant combination that resonates with our design inspiration. Selecting Paints like polycarbonate-specific options gives us flexibility and durability. Techniques like using masking tape will allow us to create sharp lines between colors, enhancing our design’s complexity. Decals and Stencils can elevate our designs further by adding intricate patterns. Finally, applying a protective clear coat will safeguard our custom paint jobs, preserving their brilliance and giving them a professional finish, ready for showcasing. Additionally, incorporating features like high RPM flywheel technology can enhance the motorcycle’s performance and visual appeal, making your custom design even more remarkable.
Storing and Maintaining Painted Bodies
Protection: To prevent dust, store bodies in sealed containers, applying foam padding for cushioning. By following these practices, we maintain the quality and appearance of our painted RC bodies for years to come. Including high-quality materials in the construction of your motorcycle can also enhance its longevity during storage.
Enhancing Durability and Appearance
To enhance the durability and appearance of our painted RC motorcycles, it’s essential we start with Surface Preparation for Durability. Thoroughly cleaning the body removes oils and dust that compromise adhesion, while fine sanding with 600-grit creates a smooth surface. We should also use a suitable primer designed for RC materials to improve paint bonding.
Next, Paint Selection and Application involves using acrylic urethane or lacquer specifically made for lexan, allowing us to apply multiple thin layers for durability. Additionally, selecting the right upgrade parts can further enhance the performance of your RC motorcycle, ensuring it remains competitive and robust.
Finally, Sealing and Protective Coatings adds longevity; we can apply a flexible clear coat and consider nano-ceramic coatings for scratch resistance. These steps not only enhance durability through robust durability testing but also boost aesthetic enhancements, ensuring our motorcycles look impeccable.
Frequently Asked Questions
How Long Does the Entire Painting Process Typically Take?
The entire painting process typically takes us one to two days, considering drying times and multiple paint layers. We can enjoy achieving that professional finish together by being patient and investing the necessary time.
Can I Use Regular Spray Paint Instead of Specialized RC Paint?
No, we can’t use regular spray paint effectively. Specialized options guarantee better paint adhesion and durability. If we want our RC models to shine, we should stick to those specialized paints instead of risky spray paint alternatives.
What Should I Do if Paint Starts to Bubble?
When we see bubbling problems, it’s like a storm brewing on our canvas. Let’s sand those bubbles gently, clean the surface, and use our repainting tips to restore that smooth, vibrant finish we all cherish.
How Can I Achieve a Matte Finish After Painting?
To achieve a matte finish, we should focus on proper surface preparation techniques and apply a matte topcoat. Multiple thin layers help maintain an even finish, ensuring our hard work results in a beautifully textured outcome.
Is It Safe to Paint Indoors?
While painting indoors can tempt us with creativity, it’s vital to guarantee proper indoor ventilation. By using quality painting materials and guaranteeing airflow, we can enjoy our projects safely without compromising our health.